Do you prepare samples for electron microscopy and want to save time, money, effort, and frustration?
Do you image other people’s samples and want advice you can easily share with those preparing them?
Electron microscopy (EM) is a powerful technique that contributes to revolutionary discoveries at the frontiers of science. It has tremendous potential within key fields such as epigenetics and structural genomics and well-established ones like drug discovery.
But it’s hard work.
Partly because it exists at the interface between biology, chemistry, and physics—you’re forever encountering difficult concepts.
Another challenge is the astounding variety of EM applications—each application and sample are different and require individual treatment.
This article provides hands-on advice to help you get the best possible data from your EM experiments.
Advice You Can Trust
To bring you the best EM sample prep advice, we interviewed EM expert Dr. Andreia Pinto who has not gone longer than a month without touching an ultramicrotome in the last 12 years.
Andreia started her career as a Biomedical Scientist in Histocellular Pathology with a particular interest in electron microscopy. She worked as an Electron microscopy specialist and also in the diagnosis of Primary Ciliary Dyskinesia (PCD) in Lisbon, before moving to the Royal Brompton Hospital, London, in 2019, where she was responsible for training a deep machine learning platform to recognize patterns in EM images of cilia in diagnosing PCD. She completed her PhD on this topic in 2022 while also investigating new insights into SARS-CoV-2 infection of the respiratory airway.
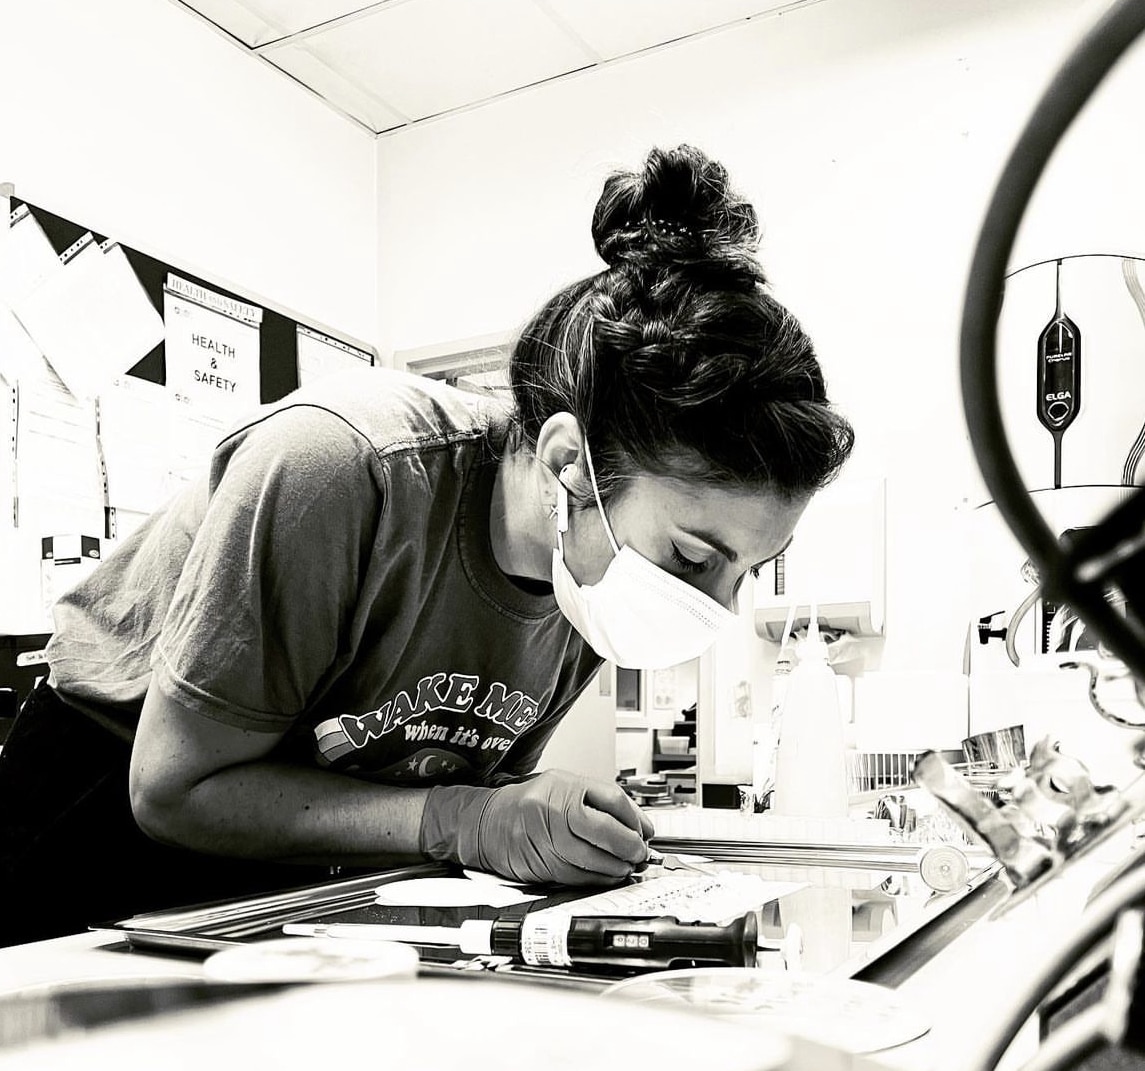
Andreia is currently an Advanced Workflow Application Specialist with Leica Microsystems, based at the Imaging Centre of the European Molecular Biology Laboratory (EMBL), Heidelberg (Figure 1).
Top 10 Expert Electron Microscopy Sample Preparation Tips
We’ve distilled Andreia’s knowledge and advice into 10 hands-on tips for EM sample prep.
1. Treat Sample Preparation and Imaging Equally
We started by asking Andreia why sample preparation is so important in an EM workflow. She started by emphasizing that without good sample preparation, results can be misleading:
“It doesn’t really matter how well equipped your lab is, with sophisticated microscopes and ultrastructural imaging systems, if your sample preparation is not good… the outcome will be a disappointing failure at best, and misleadingly incorrect at worst, because you will be seeing things that aren’t reflecting reality. We are trying to perceive reality, so it is important to get this step right.”
Powerful electron microscopes produce accurate and interpretable ultrastructural data—only if samples are prepared with care sufficient to preserve important features.
2. Understand Your Scientific Goal
Andreia also advocates for careful planning and taking the time to consider the final objective, as this will crucially influence sample preparation decisions:
“The most important thing to consider is always the final objective. What does one want to achieve in the end?”
She also asks people to consider potential decisions before preparing samples, in particular, whether correlation with light microscopy will be required (e.g., for technical orientation or targeting studies). Early considerations such as these influence how you prepare your samples.
“Consider only the structure or morphology of the sample needs preserving, or if there is a need for spatial context, preservation of antigenicity, or any requirement to retrieve fluorescence. All these need to be factored in. For each one of these outcomes, there will be a different workflow involving different equipment and a different skill set.”
3. Preserve Your Sample Correctly
One of the most important decisions in sample preparation is how to preserve your samples. There are several approaches, from immobilization to embedding. Each preservation technique has advantages and disadvantages, and the choice may limit the downstream applications you can use. Andreia stresses the importance of carefully choosing the preservation and embedding technique you use to ensure that you can extract the data you need, for example:
“…if one realises they needed to label their sample with, for example, gold particles, but they had already embedded the specimen in epoxy resin since it was the only system available in the lab and the only protocol known… this will certainly pose as a bottleneck. This procedure is irreversible, and it will be challenging to make accurate, trustworthy labelling. So, it is useful to think about all the potential needs early on.”
Another great example, she explains, is somebody who wants to do correlative studies but skipped important patterning and mapping steps. In such cases, it will be “virtually impossible” to find your region of interest, and time in EM would be much less efficient.
Remember that decisions you commit to early on may limit the type and extent of data available when you image your sample, which can be particularly costly in a CLEM workflow.
Careful planning of your experimental design before you obtain your samples will help ensure you use the right preservation technique.
“…the solution is always the same; stop and go through everything before having your samples in a dangerous limbo.”
4. Push the Boundaries of Your Knowledge
Practical skills are indispensable, but what theoretical and background knowledge could enable researchers to prepare better samples? In Andreia’s experience, cultivating an understanding of the relative scale of proteins, organelles, cells, and organisms is beneficial:
“…It’s crucial to have a good spatial perception of biological systems in 2D and 3D.”
And there’s no avoiding them —chemistry and physics. They might not strike as central to microscopists’ skillset working in life sciences, but she points out their benefits.
“It’s important to understand how temperature and pressure changes may interact with your sample and why. Regarding chemistry: knowing how stains, dyes, and tags can impact your sample will enable you to make better sample prep decisions.”
This rarely comes easily, however.
“, for me, and because I am a biomedical scientist… the trickiest theoretical point to grasp is physics, but expanding my knowledge here is a worthwhile investment.”
5. Improve Your Sample Manual Handling by Using Dummy Samples
Following up on this, we asked Andreia what she thinks is the most helpful practical skill for microscopists to acquire. The answer is clear:
“…we should never underestimate the power of our own hands as the two most reliable pieces of equipment. Start with good handling and manipulation, then you will conquer the world.”
What steps, then, does Andreia encourage to get better at manually handling samples and improve coordination and dexterity (Figure 2)? Again, she’s very clear—practice!:
“Manipulate mock samples, for instance, or less precious ones. Do it and do it and all over again. Transfer grids from drop to drop until you feel comfortable enough. Just practice as much as possible. This is so simple, but it makes a huge difference.”
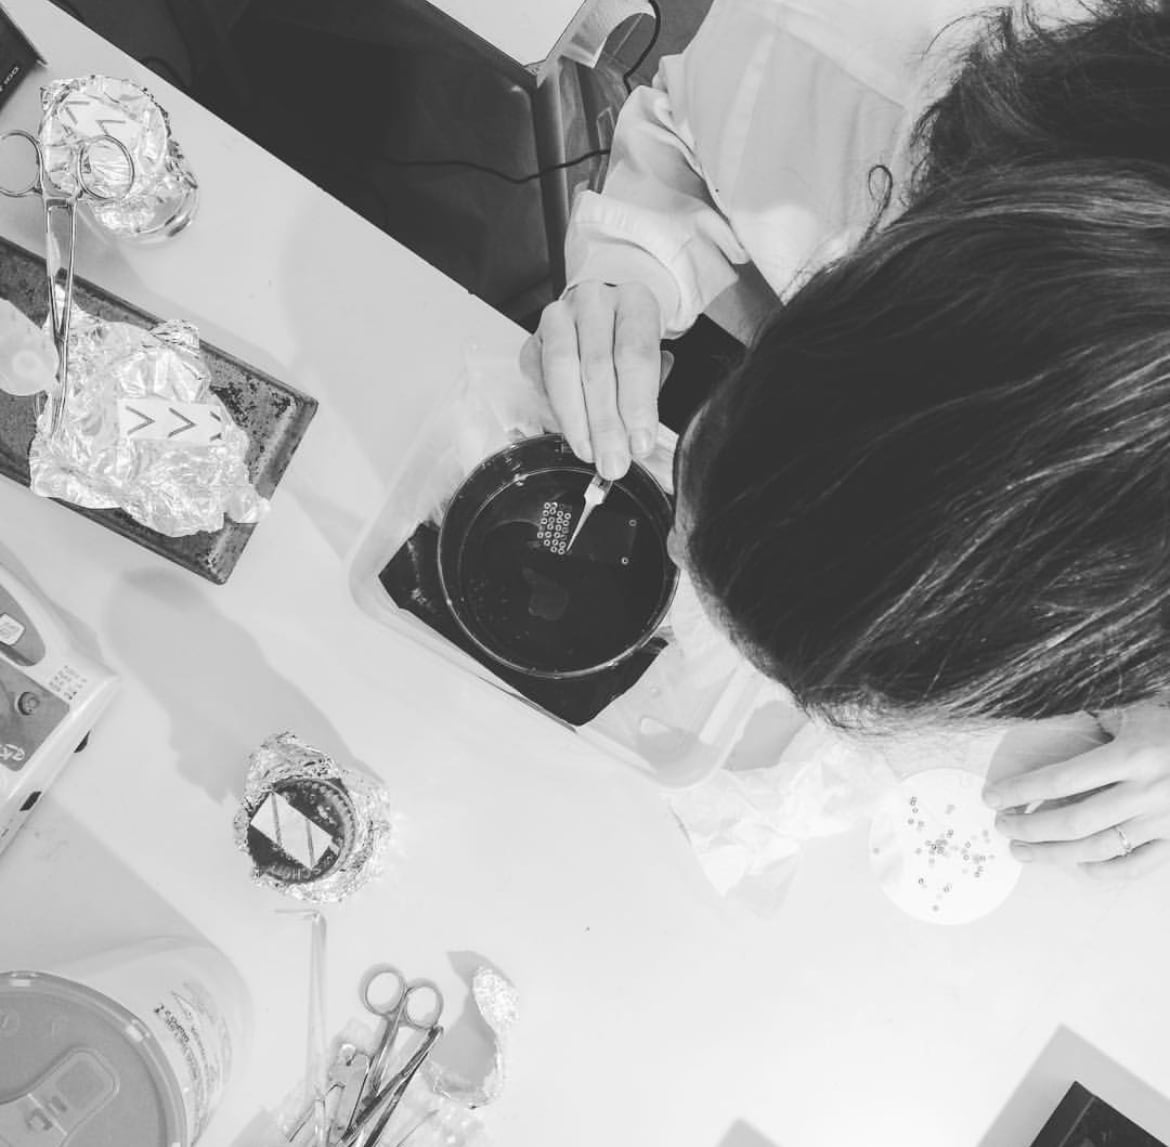
“While you’re practicing, play with how you position essential consumables. Plus, you know you will have to inspect tiny drops of clear liquid, so how do you like your lighting? Do you recognise if your material is already damaged? Are your tweezers sharp enough, are they the right type for this handling? Practice and improve by the minute.”
Then, when you work up your actual sample, you’re less likely to mess up, and it will save you time in the long run:
“Be confident with your sample handling because when you reach the end of the day, you might have three grids remaining, and they will be very precious to you! If you lose them because you are not confident enough with sample handling, you will be very, very frustrated with yourself. Put in the time to be proficient in sample preparation and handling, and it will pay off in your EM workflow.”
You can apply this philosophy to the ultramicrotome (Figure 3):
“If you are working with the ultramicrotome, this is the same. Just work with glass knives or an old diamond knife as much as you can and need, until you feel confident enough to move to your precious diamond knife.“
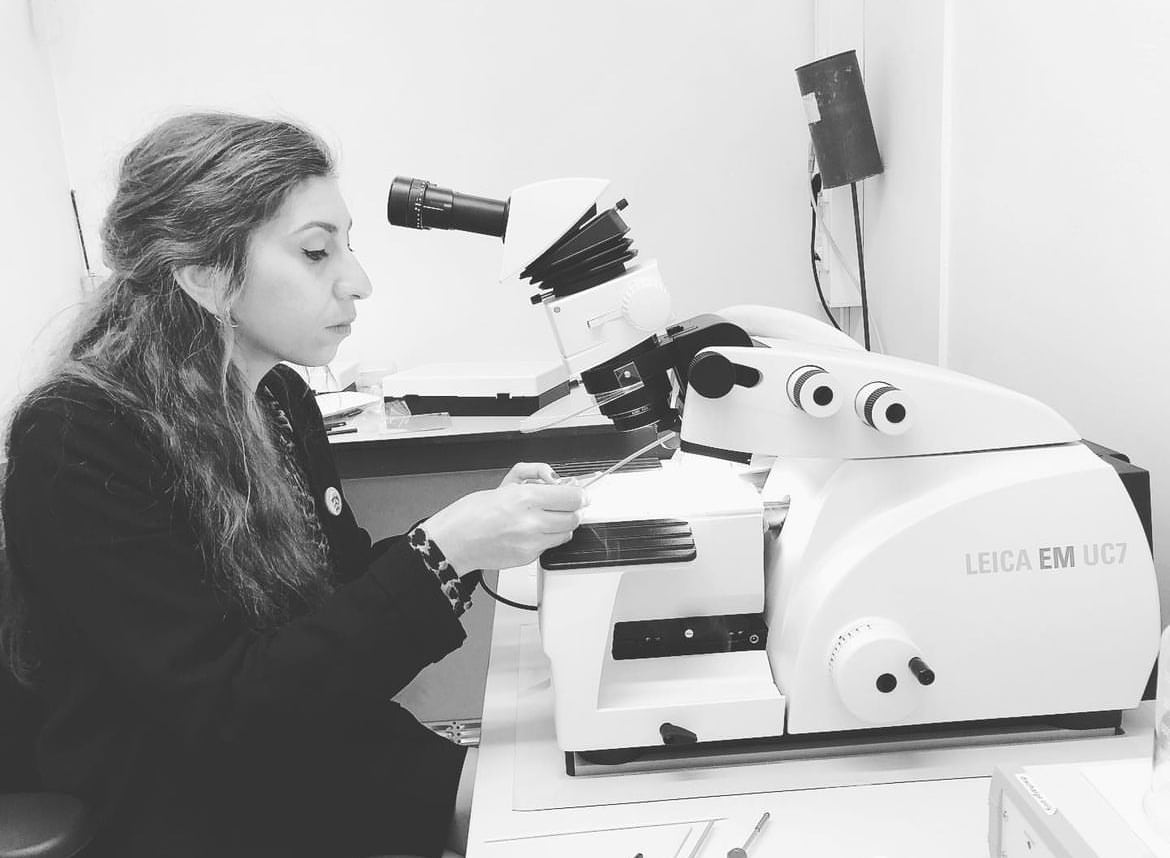
Nevertheless, and despite the commotion around diamonds, don’t shy away from the diamond knife; it is pretty much inevitable that you will use one for your EM work. Instead, start slow, build cautious confidence, and consider having somebody observe you at first and giving you good, educated tips.
6. Don’t Underestimate the Value of Small Equipment
Given Andreia’s long career in electron microscopy, we wanted to find out what she considers the most exciting developments in the field.
Perhaps unsurprisingly for someone with such experience of various sample types, it’s not the advanced microscopes or arcane theoretical developments that excite her most, but the small, sometimes improvised items designed to solve simple issues that make the difference between success and failure:
“For me, what I find exciting, are the little things…should I consider a cover box to manipulate my samples under low humidity conditions? Or, for instance, should I consider an antistatic device that will make my sectioning improve in so many ways? Small preparation considerations, but big impact!”
You might be lucky enough to have access to state-of-the-art imaging devices that require a whole department to run them, but it’s the comparatively simple techniques and equipment in your preparation workflow that improve the quality of your sample and the richness of your data manifold.
Invisible and barely perceptible conditions can do harm to your sample, as Andreia points out.
“You don’t even know what is getting on your sample from the moment you immobilize them until you load them in the microscope. Underestimate relative humidity and temperature, and then later, when you go to the electron microscope… you will be sad.”
Similarly, freezing grids is a simple process. But getting the particulars of it slightly wrong can drastically affect your data, its quality, and validity.
Having an automated and configurable grid plunger that you can configure depending on the type of sample and final goal removes a lot of uncertainty and variance in sample prep quality and the quality of your results. For example, using a good plunge freezer, such as Leica’s EM GP2 system, it takes a couple of minutes to mount and plunge freeze a grid reliably.
Her enthusiasm for equipment that eliminates frustrating sample prep issues is infectious and relatable:
“It goes from you sitting at an ultramicrotome for three hours, pulling your hair out, or on the other hand having a nice session, finishing earlier, going home, feeling great, just because of something simple you did in the preparation. If all goes well, with everything set up correctly, then you can extract an insane amount of data throughout so many workflows, from conventional TEM down to single particle analysis. How is this not amazing?”
7. Factor Sample Prep into Your Budget
We wanted to discover what Andreia would say to anyone looking at purchasing a new microscope.
“Exciting! Enjoy the process, but don’t forget to consider – will there be enough budget left for proper sample preparation investment? Because if there’s not, you must reconsider, because this has to be equally important.”
Simple enough—invest in sample preparation and leave enough money for the ‘smaller’ elements responsible for the quality of your sample. This time is the best time to make these decisions, and it may prove difficult to adjust a long and complicated preparation protocol later.
Andreia also stresses that equipping a lab thoughtfully will lead to better data in the long run by pointing out that sample prep equipment exists to make life easier and make work more reproducible by reducing human errors and variability.
8. Organize Your Lab Sensibly and Ask for Advice
Consideration of sample preparation budgets is not the only piece of advice Andreia would give to anyone looking at purchasing new EM equipment. She recommends reaching out to others that have already gone through the process of purchasing new equipment.
“…before going ahead first with the big purchase, make a plan and ask for advice from labs that are well-equipped and went through the process already… just reach out to peers, to colleagues that have really well-established labs that work really well and ask them for advice.”
As well as contacting your colleagues, get in touch with the equipment manufacturers directly for specialist advice.
And as part of your plan, ask yourself three questions:
i. What Equipment Do You Need?
First, consider what equipment you need for your applications, and understand the state of the art. For example, do you need a high-pressure freezer for your sample prep? If you’re studying a dynamic biological life cycle process, then you would probably benefit from one. Many top facilities are using this technique, but check their publications to understand if this workflow is right for you.
ii. Where Will You Put Your Equipment?
Once you know what you need, consider where you will place everything.
Avoid placing your shiny new ultramicrotome anywhere it can get knocked, and consult with the experts about options to reduce vibration, for instance. Andreia councils against placing workbenches directly beneath vents that can blow aerosolized sediment on everything and thinking about what type of waste you will produce, and installing the necessary hoods and waste streams.
iii. Can You Modify Your Lab?
Should you install special floor protection where you intend to handle liquid nitrogen?
Is one end of your lab more humid than the other? Perhaps you have external-facing walls that attract condensation.
To avoid demotivation and unnecessary delays, and of course, to ensure everyone’s safety, remember to plan and equip your lab in a manner compliant with your institute’s health and safety rules.
9. Know When to Take the Long Way Around
We wanted to learn if Andreia had a specific example of where a single sample prep step made the difference between success and failure. While she didn’t, she was keen to remind us of the bigger picture.
Aim to build a working understanding of how the equipment in your lab works and saves you time, and know which steps are worth spending the extra time to become an expert.
“…you always must be able to rely on yourself. The equipment will always bring more advantages and speed and reproducibility—everything. But never jeopardize your own skill set.”
While it’s hard to embrace doing work the long way around, even the abject failures of experiments contribute to your bedrock of knowledge. No matter how experienced, this is a hard lesson all those who practice specialist skills must learn, Andreia included.
“…one will develop the skills by doing it and failing and doing it again from scratch and failing another 20 times if necessary. The skillset will be built… And when I say failing 20 times, this is still not a waste.”
10. Be Aware of Your Learning Curve
And what advice would Andreia give to her younger self and young microscopists?
She advises that we all keep our professional development in mind and remain aware of our need to learn.
“If you’ve mastered all the instruments around you, are you in a position to teach and share what you know? Or, do you need to look further afield to keep up with the latest techniques and research? There is a large global electron microscopy community who embrace both teaching and learning. Utilise the community to both teach and learn. You never know what the next step is or how your skills might be valuable.”
Andreia talks about the different philosophies she considered in her development:
“Do you want to be the lab guru, or do you want a new challenge? Whether at your facility or further afield, the sample preparation skills you learn will be vital. Always keep in mind that for quality imaging, especially in electron microscopy and on the correlative workflows, it’s critical that you consider sample preparation!”
Get One-to-one Microscopy Application Support
Hopefully, Andreia’s expert sample prep advice enables you to prepare exquisite EM samples that give you the microscopy data you need.
If you need one-to-one microscopy application support, contact Leica directly and get advice from the experts.
