Like most things in this world, fluorophores are mortal, and eventually your once bright fluorescent image will inevitably fade to black. This fading or ‘photobleaching’ of fluorescent signal can make imaging difficult, especially if you are trying to take quantitative images. Read below to learn what causes photobleaching of your fluorophores and how best to deal with it.
What causes photobleaching?
In short: Fluorophores work by absorbing light at a particular wavelength and emitting light at another particular (and longer) wavelength. Sadly, this light which is absorbed is the cause of photobleaching . Therefore the death of your fluorophore is inevitable.
In more detail: Fluorophores work when the light absorbed elevates their electrons from a ground state to a temporary excited singlet state. However, these electrons do not stay excited and elevated forever. When these electrons fall back down, a photon (light) is emitted in a process called fluorescence.
Once back in their ground state the fluorophore’s electrons can be excited again, and the cycle can be repeated. How long this cycle continues depends on the type of fluorophore, and the intensity and duration of light exposure. However, all fluorophores will eventually stop cycling and fluorescing. This is called photobleaching. Why this cycling stops is not known for sure. But it is assumed that the fluorophore’s electrons get stuck in an excited triplet state, which is a long-lived and stable state.
How to minimize photobleaching
The best way to minimize photobleaching is to minimize the amount of light your flourophore is exposed to. This can be done three main ways:
1) By reducing light intensity. By reducing the intensity of light exposure during imaging you can slow the bleaching of your fluorophore and extend its life. But be forewarned, this will also reduce your signal intensity- so be prepared to find a balance.
2) By reducing time of light exposure. You can also extend your fluorophore’s life by reducing its overall time exposed to light. This means storing your fluorophores properly (in the dark), incubating your samples properly (in the dark), and turning off your microscope’s light source between images.
3) By adding anti-photobleaching mounting media. In addition to reducing light exposure and intensity you can use anti-photobleaching mounting media on your sample. These media (such as Vectashield by Vector, or Prolong by Invitrogen) can help slow fading and photobleaching in your fluorescent sample. Also whenever possible use newer fluorophores that are resistant to photobleaching (such as ‘Alexa Fluor’ or ‘DyLight’) over older generations of shorter lived fluorophores.
When to use photobleaching on purpose
As funny as it sounds, there are times when photobleaching is a good thing. If you have ever done fluorescent imaging with tissue, you will know that tissue has autofluorescence. This is because tissues contain endogenous fluorophores. Not only do these enodgenous fluorophores fluoresce, but they do so at the same wavelengths as GFP (green fluorescent protein: around 488 nm) and FITC (fluorescein isothiocianate: around 520 nm) fluorophores. This can make distinguishing your true signal from background autofluorescence difficult. To avoid this problem, simply avoid using GFP or FITC fluorophores whenever possible.
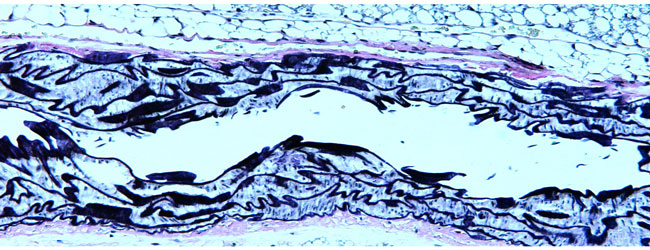
However, sometimes you must use fluorophores that overlap with tissue autofluorescence. Luckily you can use photobleaching to help reduce autofluorescence and thus your background noise. To do this: before you incubate your tissue with your fluorophores, expose your tissue to UV irradiation (253 nm to 400 nm) for two hours at 30 W. Additionally, for an even better reduction of autofluorescence you can combine this photobleaching protocol with a treatment consisting of an autofluorescence-quenching dye, such as Sudan Black B (see the footnote below).
Good luck and Happy Imaging!
Footnote;
Sudan Black Protocol
Incubate your tissue in 0.1 % Sudan Black B in 70 % ethanol for 20 min, at room temperature, in a wet chamber. When complete, remove excess and wash your sample 3 times, for 5 min, in phosphate buffered saline (PBS) with 0.02 % Tween 20.


