Mercury burners are one of the most common light sources used in fluorescence microscopes, producing a wide spectrum of wavelengths making them a great light source for viewing your samples. But they do have their issues – one of which is their propensity to break or become damaged if not used and cared for correctly, which can affect your image quality or increase microscope down time. Therefore we’ve put together some top tips for using and maintaining your mercury burner, so you can get the best out of your microscope.
Never switch on a warm burner
Once you’ve switched off your burner you should wait at least 30 minutes before switching it back on. This is to give the burner time to fully cool down, as switching on a warm burner can reduce its lifespan, damage it, or even cause the burner to explode.
Minimise short use of the microscope
Switching burners on and off (even if you do allow time for it to cool down) can reduced the lifespan, so plan your experiments out beforehand to ensure you don’t need to just quickly nip back on at the end of the day. Also be mindful of other people using the microscope. Is someone booked on after you? If so speak to them and see how long they will be once you’re finished, it might be better to leave the burner on for them.
Log your burner use time
Most mercury burners come with a recommended lifespan of around 200–300 hours. This might seem like just another marketing ploy from microscopy companies to keep you buying new burners, but the reality is that the chance of explosion increases if the burners are used past their recommended lifetime (each bulb will differ so refer to the specifications of the specific bulb for your microscope). In addition, the light quality may be reduced and ‘flickering’ may occur – both of which can affect the quality of the images produced. So to ensure you know when your burner needs replacing keep a log book next to the microscope and get people to log the hours it is used for.
Changing the burner
Once the life span has been reached, you need to carefully replace the burner. How you remove and replace the burner depends on the microscope you are using, so refer to the manual for your specific microscope. If you want an idea of what this process is likely to involve check out this video on the Leica Science Lab which show the steps involved in replacing the burner of a 106z Hg lamphouse.

Here are a few top tips to remember when changing your burner:
- Ensure the burner has properly cooled down before removing.
- Make sure you unplug the power plug and power supply before starting – to avoid accidentally electrocuting yourself!
- Fingerprints can affect the light quality so wear gloves when handling the burners and avoid touching the glass.
- Mercury-containing burners are hazardous waste and therefore need to be properly disposed of. Speak to your lab safety officer before throwing out the burner to make sure you dispose of it correctly.
Aligning the burner
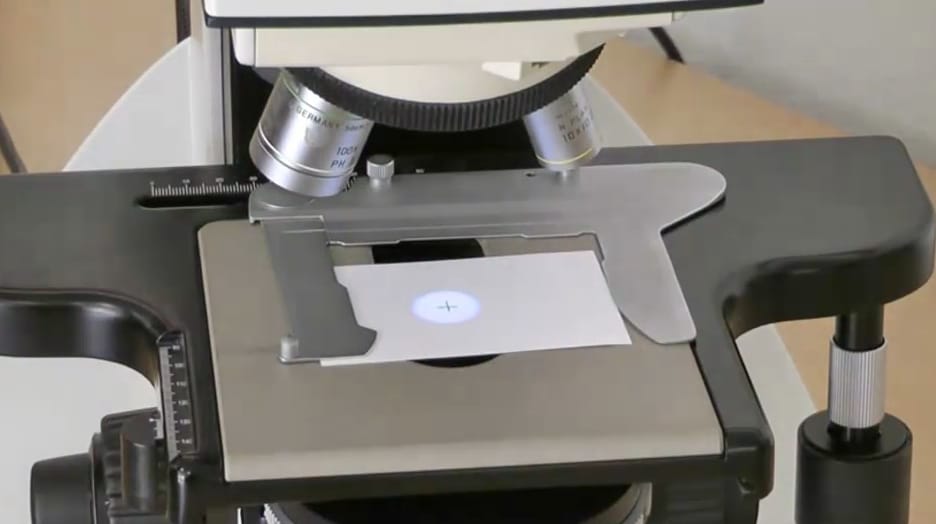
Once you’ve replaced your burner you’ll need to ensure it is properly aligned to allow bright and homogeneous illumination of your sample. This involves aligning the two light spots (the direct light and the mirror).The Science Lab has a simple to follow video showing you the steps involved to ensure that you correctly align your burner. All you need is your microscope and a bit of card – those boxes of business cards finally come in handy!
Once you’ve replaced the burner and properly aligned it you should leave it to burn-in for at least 1 hour, then you’re ready to start imaging again!