Using Word to Write your Thesis: Creating an Outline

When I started the third year of my Ph.D., and the thought of creating a thesis outline was looming, I was advised to attend a course to learn how to use Microsoft Word properly before I started writing.
I laughed! Of course, I knew how to use Word! Why on earth would I spend 3 hours at a course on something I already know how to do?
My friend was insistent that I should attend. Since she had never steered me wrong in the lab before, I figured it couldn’t hurt to see if there was a trick or two I could pick up along the way.
Initially, I was quietly despairing that the course was a waste of an afternoon, especially after hearing questions such as “How do you insert a table?”, but I persevered and, by the second half of the session, realized that I knew nothing about the advanced functions of Word that make writing a thesis that much easier.
Finding out how little I actually knew had me feeling down at first, with that “worst Ph.D. student ever” feeling sinking in. But after talking to other students, I soon found out that I wasn’t alone! Surprisingly, few people I spoke to (including several students who had just submitted theses) had any idea of how much of the work of thesis writing Word would do automatically (or auto-magically) for you.
In the hopes that I can make at least one student’s write-up less stressful, I’ve created several posts that will show you how to use Microsoft Word‘s advanced functions to write your thesis. Today’s topic starts from the beginning.
Creating a Thesis Outline
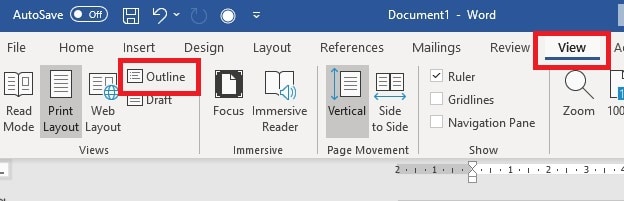
The first trick that I found fantastically helpful in laying out thesis chapters is the Outlining function. Creating a thesis outline allows you to set out the headings for your chapters, sections, and subsections and provides an easy means of moving them about without having to copy and paste things all over your document. To use the outline function, click the “View” tab at the top of the Word menu and select “Outline”.
This will give you the outlining toolbar.
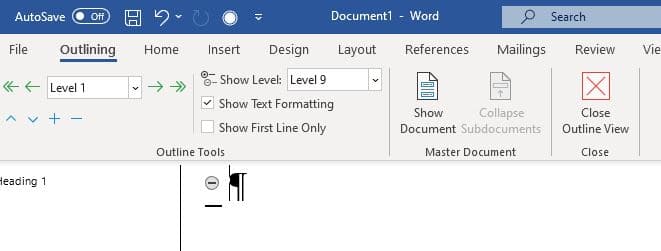
From here, you can start your thesis outline by jotting down your main headings for each chapter and building a plan for each section.
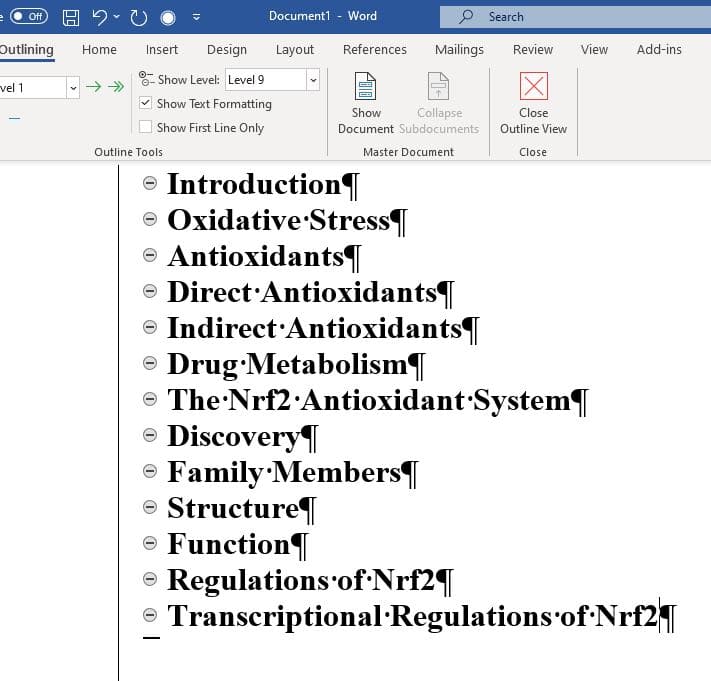
At this stage, you will have a very rough idea of the points you want to include. Now, you can designate the level or importance of each heading. The level will decide the size and type of font used for the heading and will be useful later on when you generate the table of contents.
Give it Some Style
Before you start assigning levels to the headings, decide how you want each level to look: e.g., the Chapter heading needs to be size 20, bold and underlined, level 2 section headings need to be size 18, bold, etc.
Then set up the style for each level:
- Close outline view
- Return to the home tab
- Go to the Styles gallery
- Right-click “Heading 1“
- Select “Modify” and set up your preferred font styles

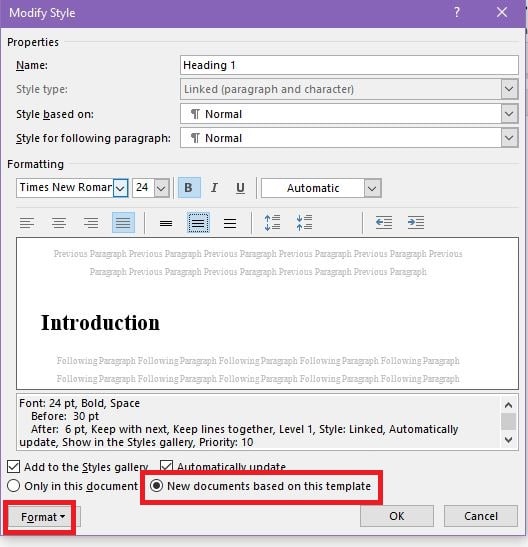
I found it useful to set this to “New documents based on this template” so that in each thesis chapter that I wrote, the headings were identical. You can also use the format option to make even more changes, like adjusting the line spacing and indents, or setting text to “keep with next” so paragraphs don’t break over a page or figures and legends don’t become separated.
Level Up
Once you have this set up for each of the headings (I went as far as Heading 5 and didn’t need to go any further), you can set up the levels for your chapter headings within your thesis outline.
To do this
- Return to outline view
- Using the tool marked “level” use the single arrows on either side of it to promote or demote each heading a level, the double arrows move the headings to either end, i.e. Heading 1 or body text.

If you decide you need to move sections around, rather than copying and pasting, simply click the grey circle next to the heading and drag it to its new position.
Give Them Numbers
Next, you can add numbering to your headings. Still in outline view:
- Highlight all the headings in your thesis outline
- Click the Home tab and select “multilevel list” (located beside list numbering and bullet points)
- Select the type of numbering you want. I opted for the 1, 1.1, 1.1.1 format, but don’t be afraid to play around with other options if that’s not what you’re looking for.

With your thesis outline laid out for each chapter, it just becomes a matter of filling in the gaps. This will break your thesis into much more manageable chunks.
Pick a small section to write each week, and your thesis will practically write itself!
Stay tuned for my next post on generating a table of contents, inserting captions, and cross-referencing sections.
Originally published October 15, 2014. Reviewed and updated on November 22, 2020.
**Note: All screenshots taken from Word for Windows, 2019.
5 Comments
Leave a Reply Cancel Reply
You must be logged in to post a comment.
Thank you so much that’s just what I was hoping to find to finally finish my master’s thesis!
Wow. Thanks for this. Much helpful!!
I am just starting my Master’s Capstone paper and this is exactly what I was hoping to find!
THANK YOU!
Thank you so much for this! I have completed almost all of my undergrad without knowing about outline and am so grateful to find your post for my dissertation!
Very informative